How to Build a Modern Wooden Accent Wall
This post is really special because it’s our first DIY in our new home and I couldn’t be more proud of it!! When Sean and I started planning and daydreaming about our new home a year ago, a modern accent wall was a must! We actually have plans to do it in 2 other rooms too lol.
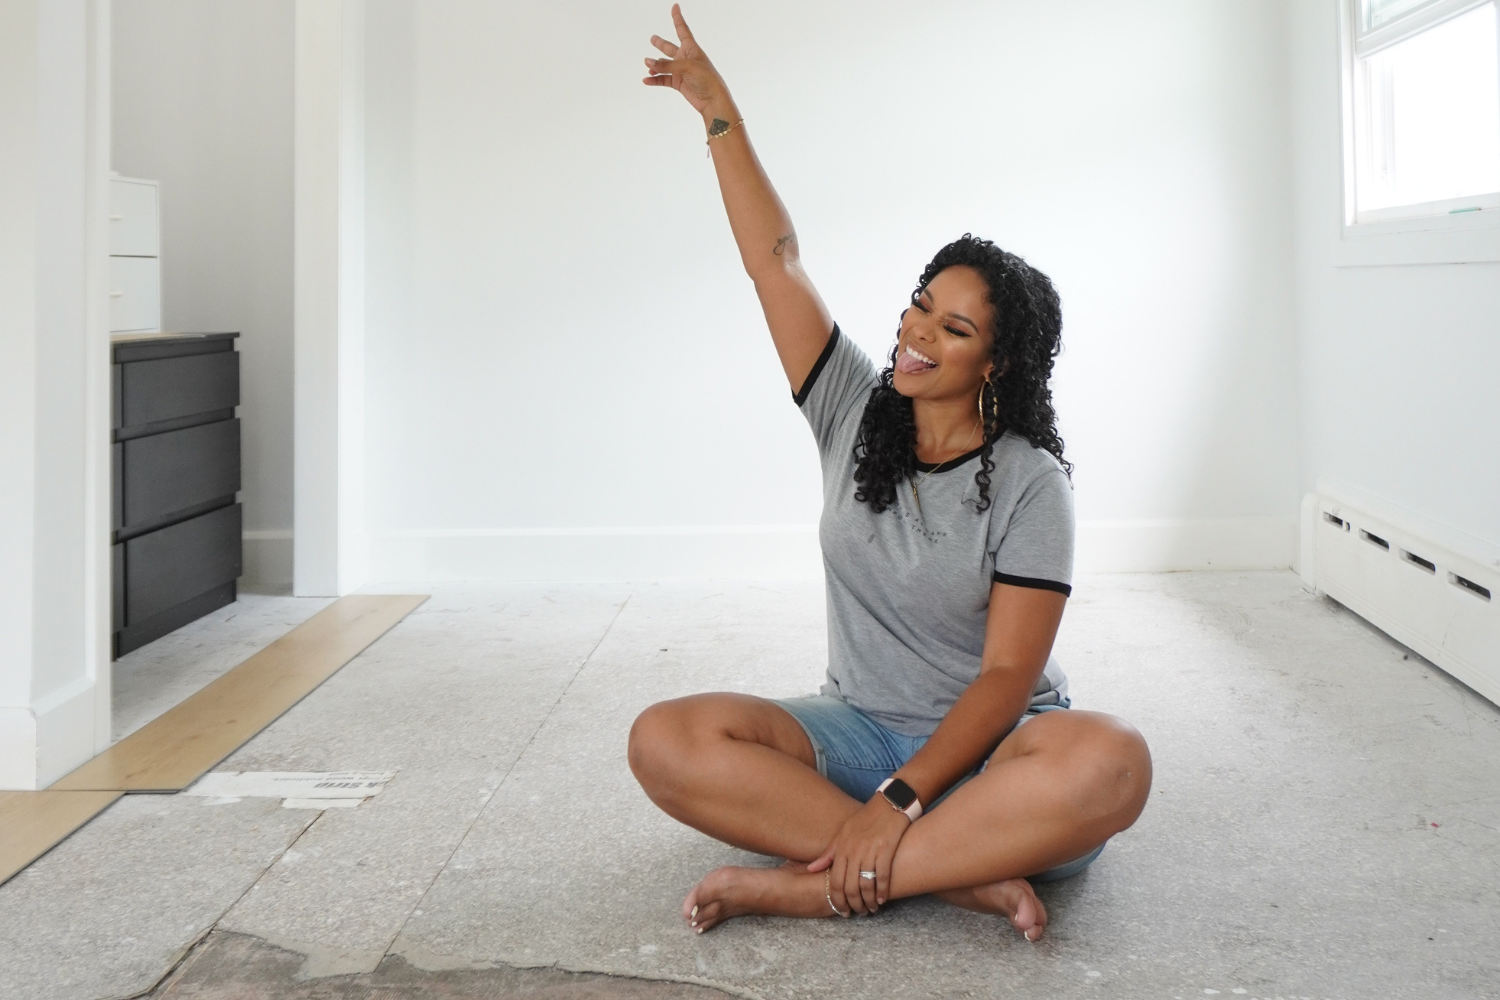
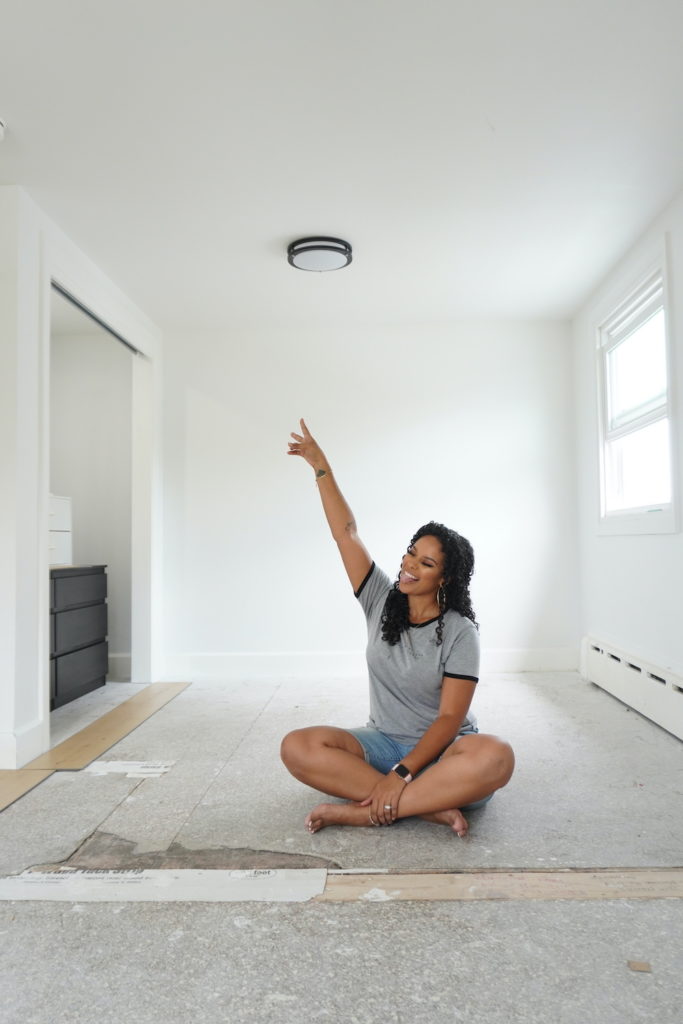
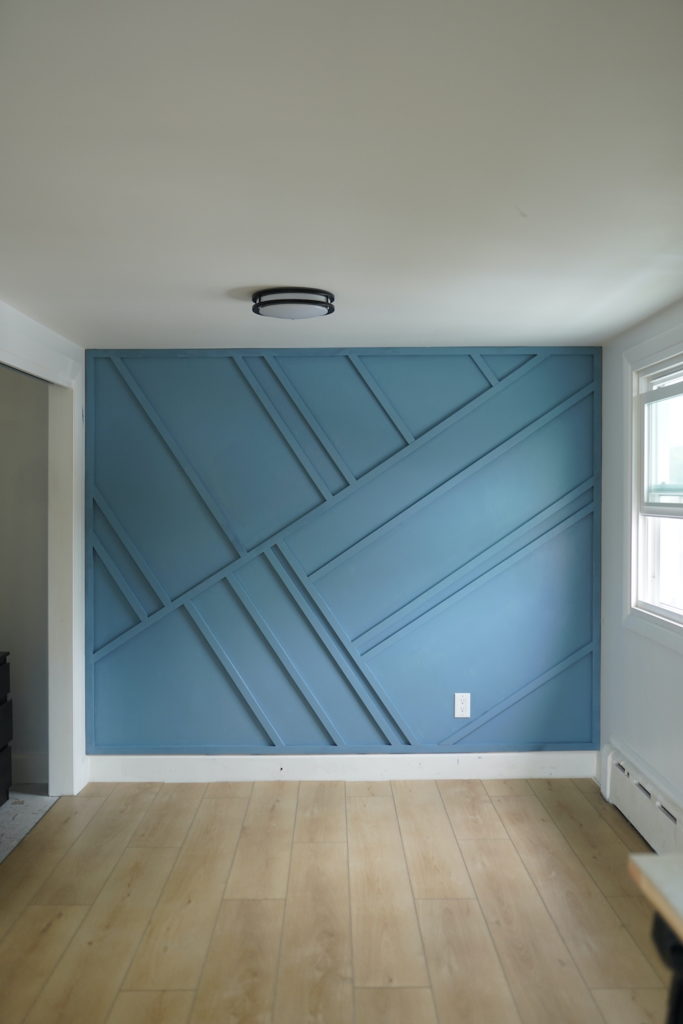
To kick off the boys’ bedroom we started by installing our new flooring (video and blog post coming soon!) and this beautiful accent wall and I’m not even going to lie, I cried when it was completed! It came out better than I imagined and it blew my mind that in one afternoon and around $50 we were able to do this!
When we moved in FOUR months ago, we donated pretty much all of the boys’ bedroom furniture because we wanted a fresh start and new design. I made this mood board to get my vision down on paper and I love how fun and free it feels! So while the room doesn’t have furniture in these photos, you can just come along and envision it with us in the meantime lol.

Now, let’s get to this DIY, shall we?
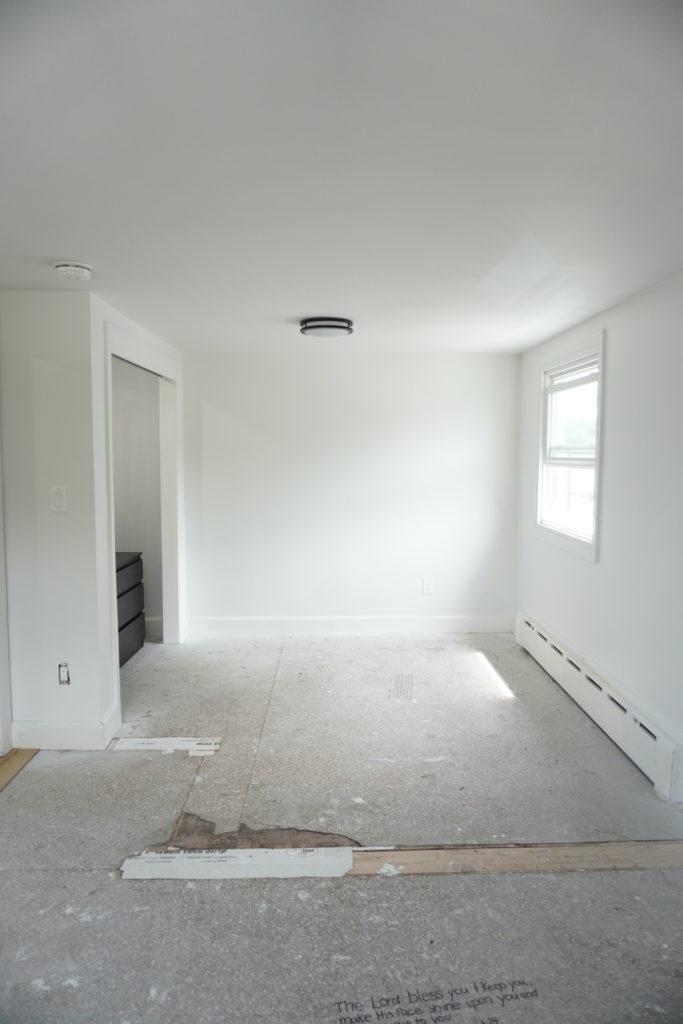
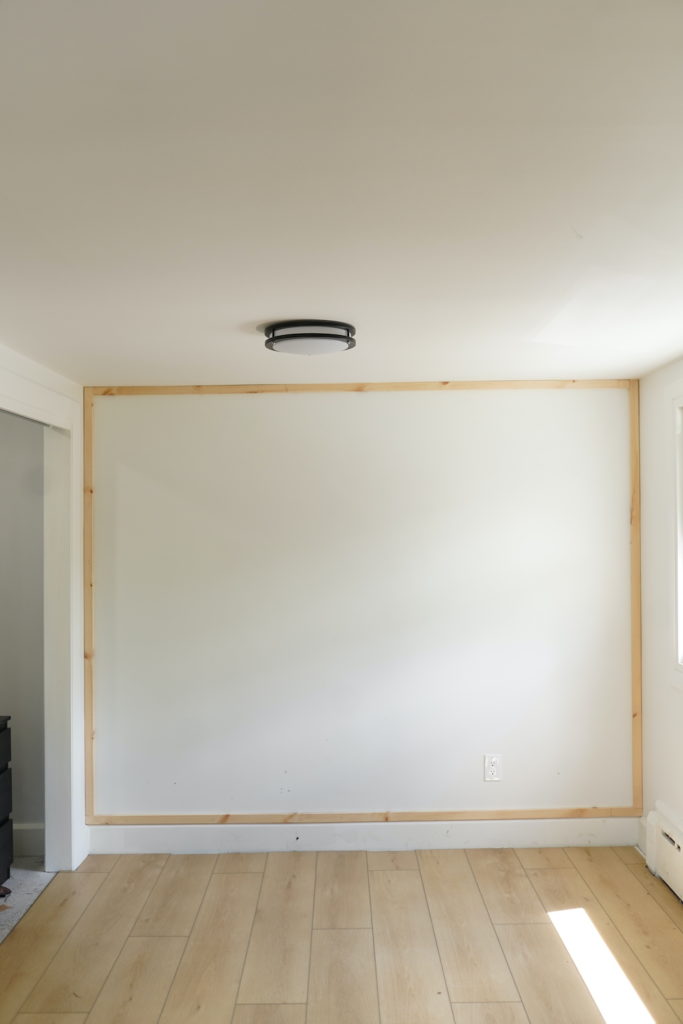
Here is the blank wall we decided to work with. I’ve seen others done on walls that have windows or doors on them, so don’t feel like you’re limited to only a plain wall. We just wanted to go easy on ourselves since it was our first time lol.
SUPPLIES NEEDED:
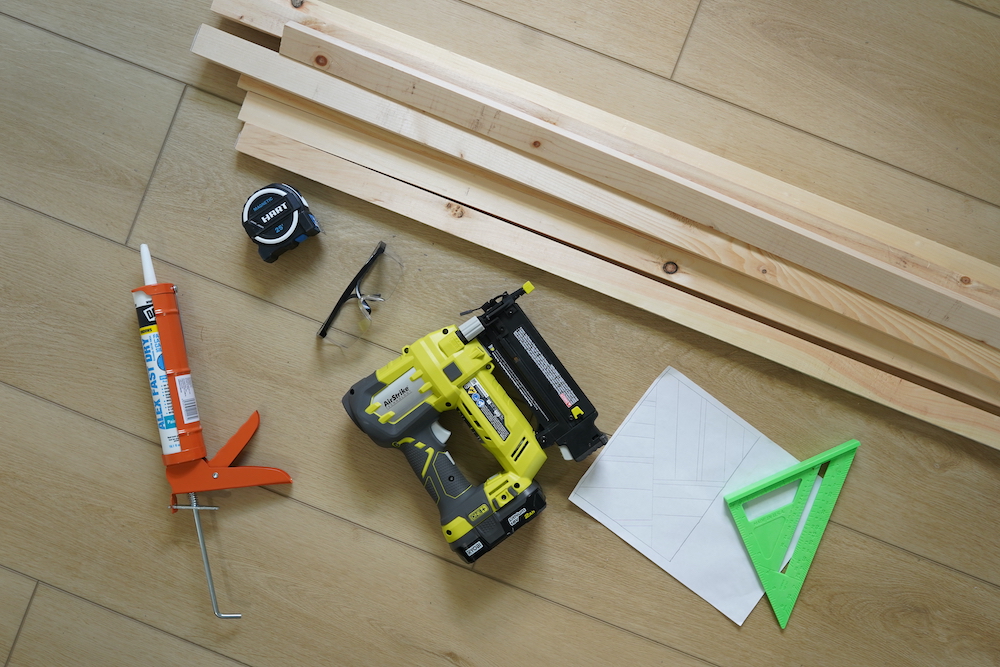
- 1 x 2 x 8 pine boards
- Brad nailer
- Circular saw or jigsaw or miter saw (preferred option but we don’t have one, yet)
- Level
- Speed square
- Measuring tape
- Pencil, eraser & paper
- Palm Sander
- Caulk
- Wood filler or spackling compound
- Paint, roller & brush
- Painters tape
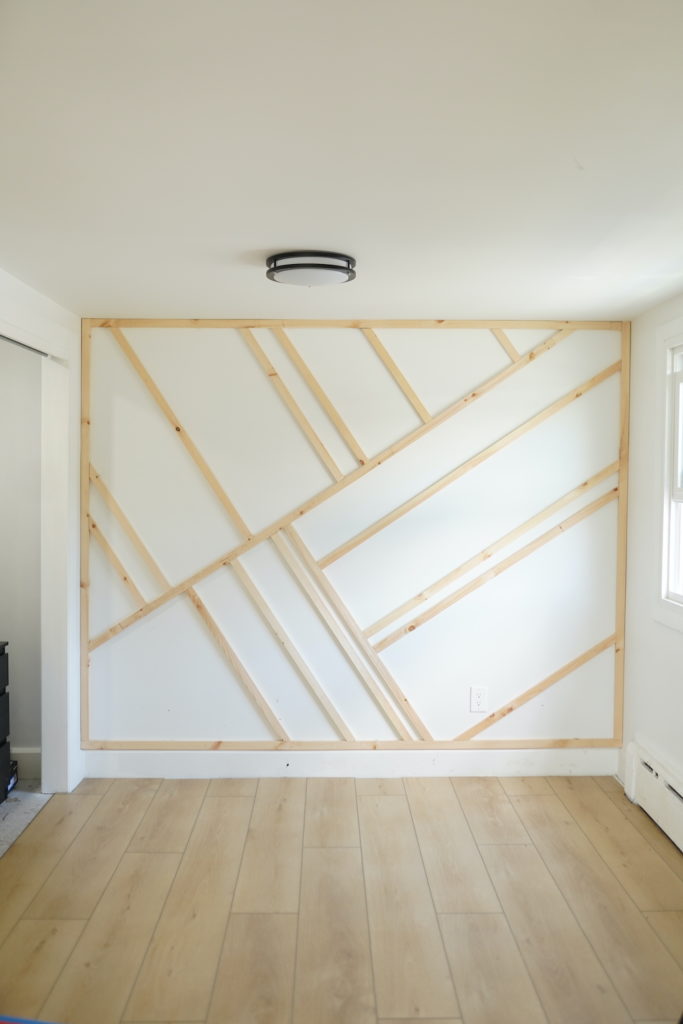
Our first step was to sketch out our design on paper. This took some time and more sketches and attempts than I expected, but we wanted to be really happy with what we chose and I didn’t want to create anything too busy.
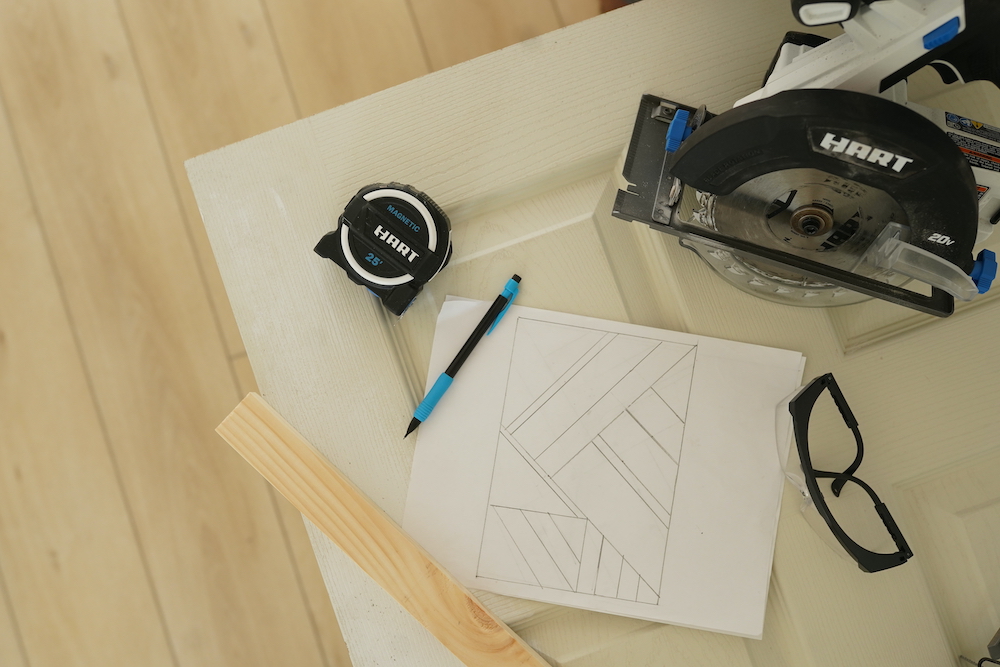
Once we agreed on the design, the fun began! We started off by measuring and creating a frame around the length and height of the wall. The length of our pine boards were not as long as the wall length so we had to cut a couple of boards and add onto the leftover spaces. We then measured and cut what was needed for the height of the wall until each board met.
For the next step, we decided that the easiest piece to start with would be the longest one based on our design. While researching how to create this wall, a lot of people recommended placing the boards at either 35 and 55 degree angles, or 45 degree angles all the way through. We decided that 45 degrees would make it a lot easier for us to be consistent and not run into any issues. (Side note: A speed square is ESSENTIAL guys! This was such a game-changing tool.)

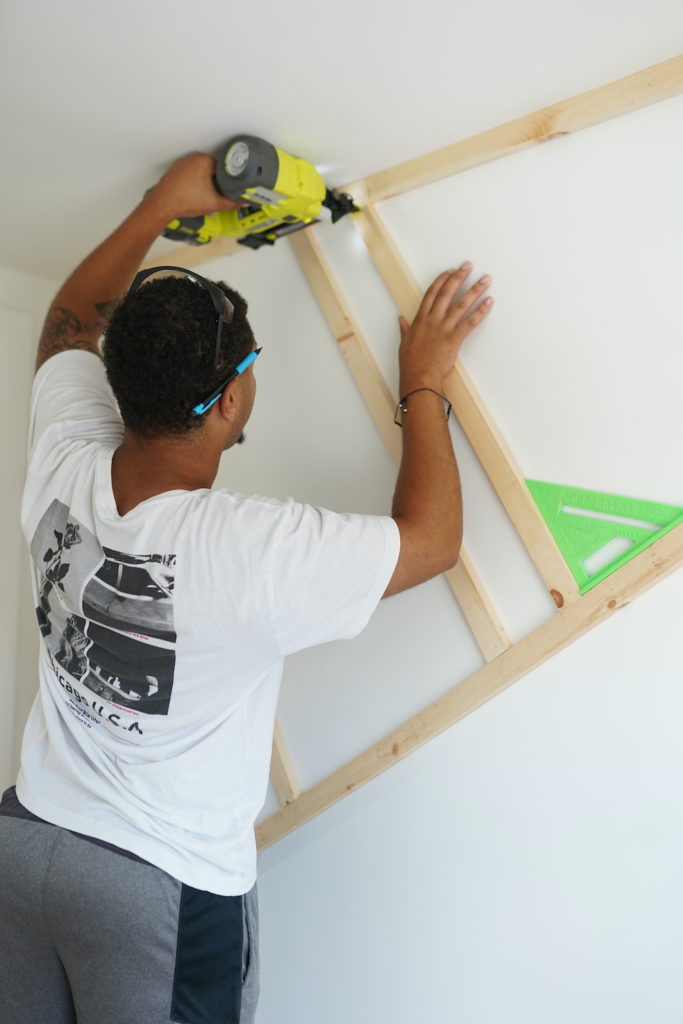
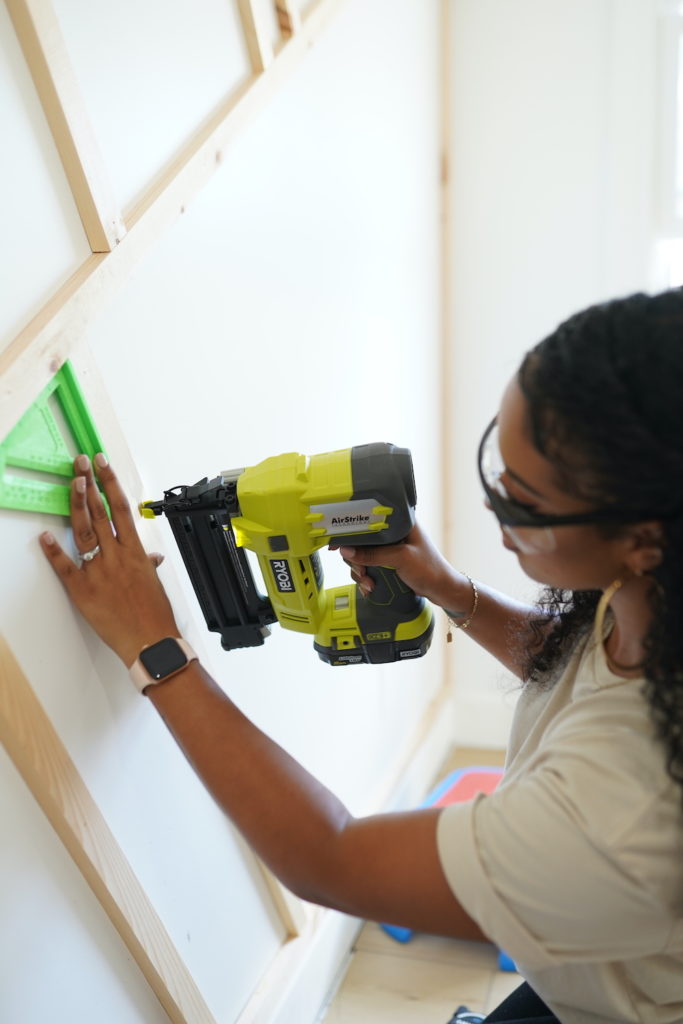

When we got the exact 45 degree angle, we used our jig saw and cut the exact measurement needed for the wall. I held the board in place and Sean used the brad-nailer to nail it to the wall. From here, it was go-time! We ended up making a few changes from our initial sketched design based off of the actual dimensions of the wall vs. the paper. It came out better than we could have imagined!
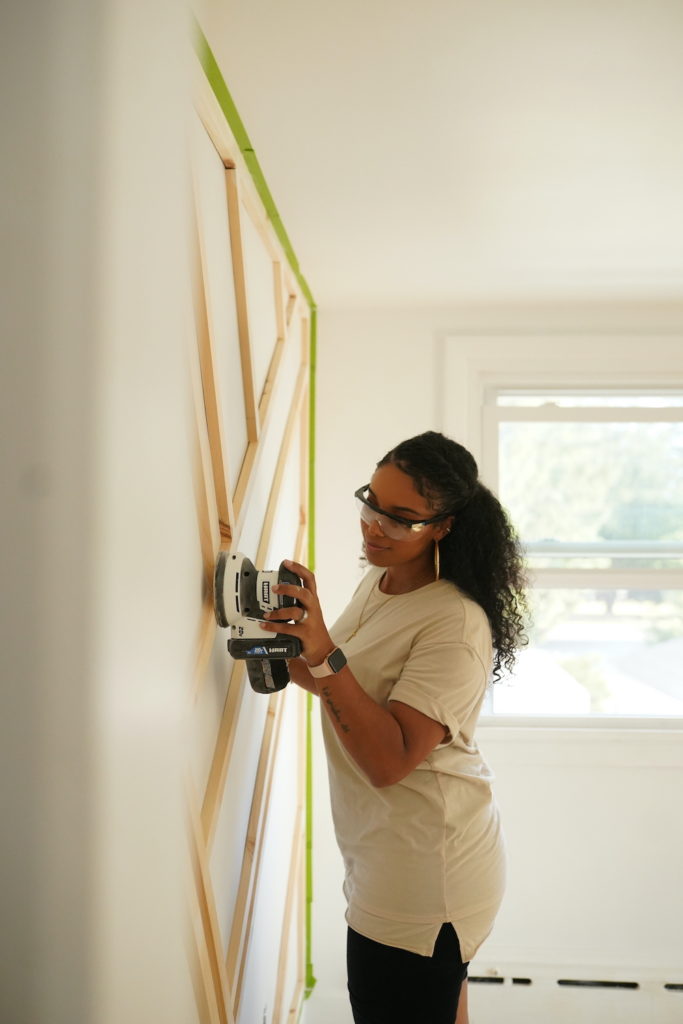
Once we were finished placing all of the boards up, we grabbed the wood filler and spackling compound to spread over any holes or divots left from the nails. I think the spackling compound was a better solution because it dried so much faster than the wood filler did. We also added caulk in areas where the wall curved in and the boards didn’t evenly meet to avoid any gaps. Once we finished spackling and caulking, we gave the pine boards a smooth finish using our palm sander to prep them for painting. (Warning: This gets really messy guys. I recommend sanding them down in a separate area, or outside if you can. There was dust everywhere!)
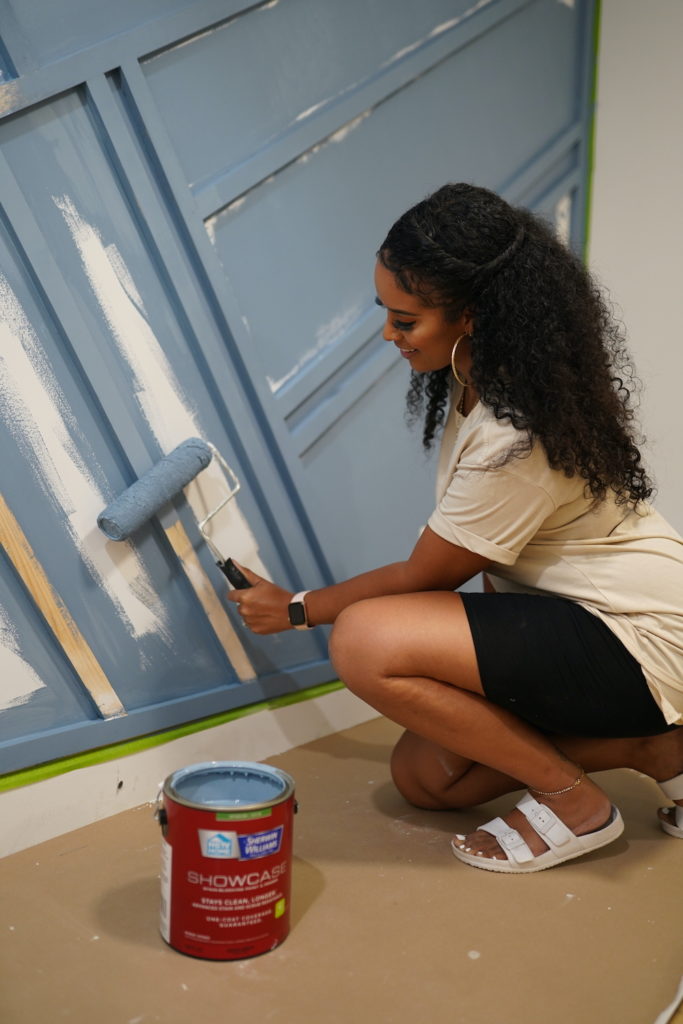
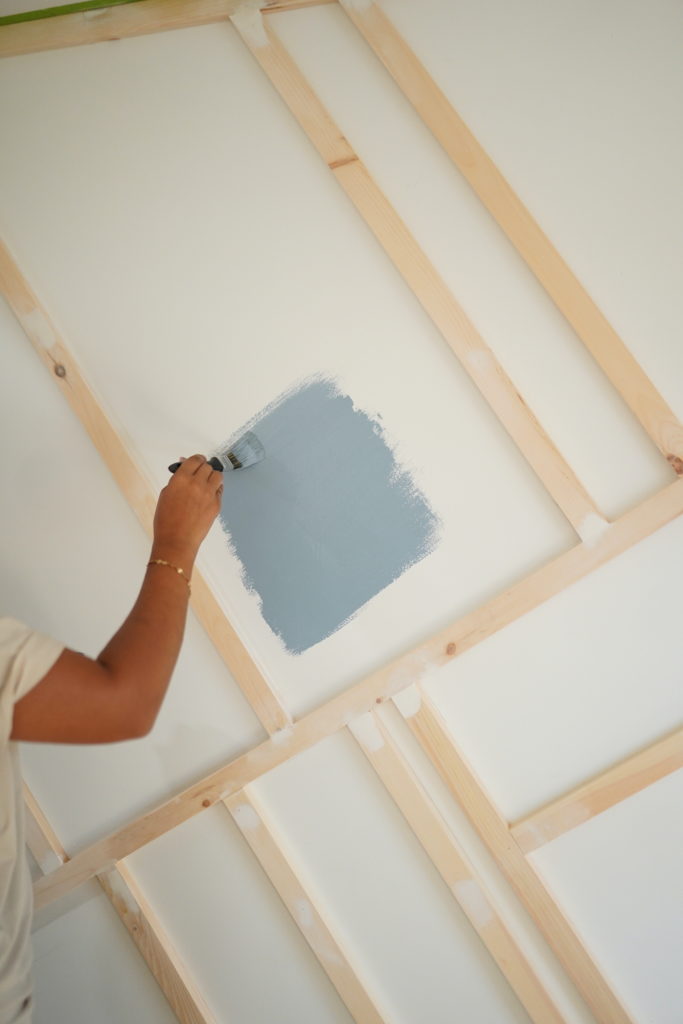
We used Sherwin Williams Smokey Azurite and grabbed our paint brushes to begin painting the wood trim and then finished off by rolling over the exposed parts of the actual wall. This was pretty time consuming so I think we might paint the wall prior to putting the boards up next time to make it an easier process.

And there you have it guys! I am so in love with the way this came out. We’re already talking about the next walls we’re going to do 🙂
Be sure to follow our home page @ourplaceofpeace to stay up-to-date with more inspo and DIY’s!
We pray this video and post encouraged you and elevated your faith to believe God for MORE and to trust that He is not delaying His promises, He is just preparing you for the ABUNDANCE of what He has for you.
love you, boo!
and remember, God is so crazy in love with you.


My daughter sent me this. She wants to do it. Looks so fun.
Question – how’d you attach the slats in the areas where there were no studs to nail in to?
Joe